7 Free Tools to Simplify Knitting Pattern Design
The process of designing a knitting pattern from start to finish can be lengthy and, at times, quite complex. No wonder many would-be designers are intimidated by it! Thankfully, there are now lots of tools available for knitting pattern designers that simplify the process - and many of these tools are free.
In today’s blog post, I’m sharing 7 free tools you can use at every stage of the knitting pattern design process to help you move through it with more ease. Let’s jump in!
Image Description: Close up of someone’s shoulder. They are wearing an orange cabled pullover. On top of the image, it says, “7 Free Tools to Simplify Knitting Pattern Design”
Tool 1: Moodboards
Canva
Canva is a fantastic, web-based app that helps people who are not confident using graphics software to create beautiful graphics and imagery with their super-customisable templates.
Why I use Canva for moodboards
Efficiency: I use Canva to create moodboards for my knitting pattern designs because I find it more efficient than working on paper. I gather images from Pinterest, save them, and drag and drop them into Canva templates. Done!
Simplicity: You don’t need to be a design expert! Canva’s drag-and-drop feature and pre-made templates make it really simple. I give my Sweater Design School students the choice of going analogue or digital with their moodboards. Most create beautiful digital moodboards using Canva, finding it relatively easy to use even as beginners. It's fascinating to see how these moodboards inform their final designs!
Comprehensive: Even without the premium version, the free version offers plenty of tools that are more than enough for this purpose.
Tips for Effective moodboards
Keep it Simple: A clear, focused moodboard is more inspiring. Avoid overcrowding with too many images that make it feel scattered.
Highlight Key Images: Make key images larger and more prominent. Place supporting images smaller and in the background.
Layering: Use Canva’s layering feature to manage the visual hierarchy.
For more tips, I have written a whole article about How to Create a Moodboard to Inspire Your Next Sweater Design. Everything I share in it can be applied to your Canva moodboards.
Working from a moodboard
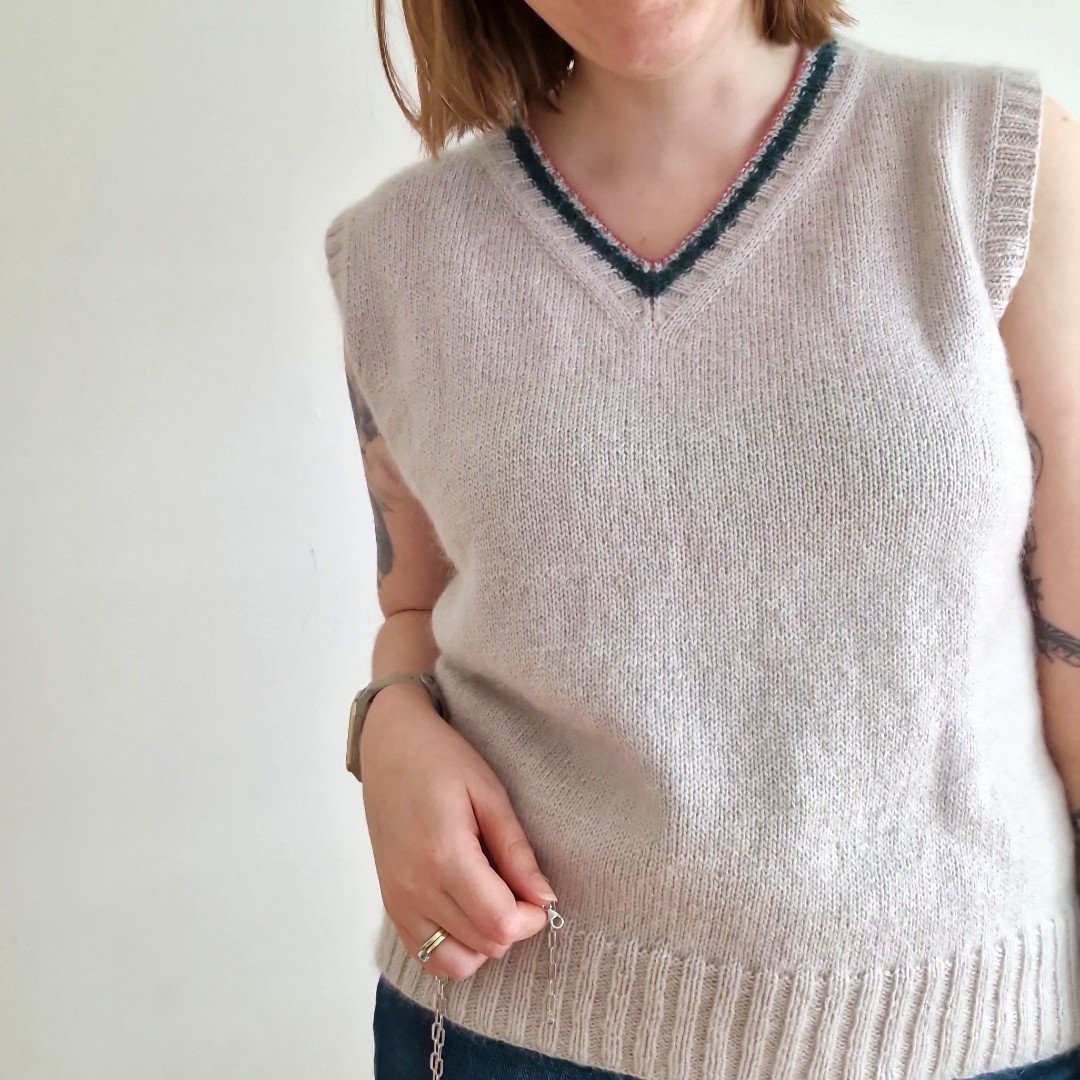
For my Albers slipover, I used a pre-made Canva template to create the moodboard. I dragged in images that inspired the design, like the gridded woven fabric, which influenced the fabric I designed. This moodboard clearly guided the design process and is reflected in the final pattern.
The moodboard I created for Albers using Canva
The final design of my Albers slipover
Tool 2: Charts
Stitch Fiddle
Stitch Fiddle is a web-based app that allows you to create knitting charts online. Whilst it’s not my preferred chart maker (I use Stitchmastery, which you can learn more about in my blog post all about knitting chart makers), it is my favourite free chart maker if you’re just getting started.
The free version is ideal for designing stitch patterns and keeping records of them.
I recommended upgrading to the premium version at £2.25 per month if you want to use the charts in your final pattern, though, since it allows you to download a high-resolution version of the chart without any Stitch Fiddle branding on it.
Image Description: Close-up of someone’s upper body wearing a beige roll-neck pullover. They are lifting their arm to show off the long ribbing at the cuff of the pullover.
Tool 3: Grading and Pattern Calculations
Google Sheets
Google Sheets is a free, web-based spreadsheet maker similar to Microsoft Excel. I use it to design and grade all of my knitting patterns, and my students use it, too! It is truly fantastic.
Why I Love Google Sheets
Efficiency: I can apply a formula to one size and then, with the drag of a mouse, apply it to the remaining sizes.
Accuracy: Using formulas reduces the likelihood of math errors compared to doing calculations on paper. If errors do occur, they are easier to identify and correct within the spreadsheet.
Components of a Pattern Spreadsheet in Google Sheets
Size Chart: At the top of your spreadsheet, include a comprehensive size chart covering all the sizes you are designing in.
Ease Calculation: Set up a section for ease to determine positive or negative ease around different areas, such as the bust or upper arm.
Finished Measurements: Calculate desired finished measurements using the size chart and ease preferences. Apply grading principles to ensure a cohesive fit across all sizes, maintaining a similar overall fit despite different garment dimensions.
Gauge Section: Set up a gauge section to help you calculate stitch and row counts for each section of the sweater. This will be useful when calculating the final pattern numbers.
Pattern Instructions: Using all of this information, you will start calculating the individual numbers you need to write your knitting pattern, including cast-ons, pattern placements and shaping rates.
Tool 4: Pattern Writing, Tech Editing and Test Knitting
Google Docs
Google Docs is a free, web-based word processor similar to Microsoft Word, which I use to create my draft and final pattern—even for layout!
Reasons to Use Google Docs
Collaborative Drafting: I write my pattern drafts in Google Docs and share the document with tech editors. They can add comments in the margins to highlight anything that needs fixing.
Test Knitting: Sharing the document with test knitters allows them to comment directly on the document without editing the contents. This way, all questions and comments are visible in the margins, which reduces repeated feedback.
Real-Time Updates: Tech editors and test knitters always have access to the most recent version of the pattern, as updates are automatically synced.
Final Layout: I lay out all of my final knitting patterns in Google Docs. Although not as sophisticated as Adobe InDesign, Google Docs allows for creating simple, attractive, and easy-to-follow pattern layouts, which many knitters enjoy working from.
Warning: Don’t forget to set the permissions to “Comments Only” when sharing the file with your tech editor or test knitters. This means that they can’t accidentally edit the file without you knowing.
Tool 5: Test Knitting
Slack
Slack is a web-based messaging app (also available on mobile) that allows you to instant-message with a group of people on a specific topic.
Using Slack for Test Knitting
Accessibility: I now use Yarnpond for my test knits, but for several years, I used the free version of Slack to host them. I shared the pattern document link in the chat so it was easily accessible to all test knitters.
Organisation: I set up separate Slack spaces to keep the test knit organized. One space is for general chatter, and one is for questions or feedback on the pattern.
Multiple Test Knits: I could set up multiple Slack spaces to run several test knits simultaneously, with each test knit remaining private and visible only to participants.
Best Practices
Dedicated Channels: Create separate channels within a Slack space for different types of communication (e.g., general chat, pattern questions, and feedback). This helps streamline communication and feedback collection.
Privacy: Ensure each test knit space is private to keep discussions focused and secure.
Image Description: Several hanks of mustard yarn and some needles are in a little cloth bag. Next to it is a pair of black scissors and a glimpse of a project in progress. In the background is a grey wool blanket and some fairy lights.
Tool 6: Test Knitting
Google Forms
Google Forms is a free form-making program that is perfect for conducting surveys.
Using Google Forms for Test Knitting
Final Feedback: I like to survey my test knitters towards the end of the test knitting process to gather their final feedback on the pattern. This allows you to collect all remaining feedback in one place, making it easier to implement changes.
Photo Uploads: You can add a section to your feedback survey where test knitters can upload photos. This is fantastic for collecting images of your test knitters’ finished objects.
Best Practices
Concise Surveys: Keep the number of questions manageable to encourage completion.
Non-Biased Questions: Avoid leading questions to ensure you get honest and accurate feedback.
Analyse Responses in a Spreadsheet: Export responses to a spreadsheet for easier analysis and to identify common feedback.
Tool 7: Schematics
Inkscape
Inkscape is a free graphics and illustration software that is similar to more expensive programmes such as Adobe Illustrator.
Using Inkscape for Schematics
Precision: Hand-drawn schematics are not clear or accurate enough for final knitting patterns. Inkscape allows you to draw precise knitting pattern schematics.
Measurements: You can add all finished measurements directly onto the schematic or label the areas you are measuring with a letter and share the corresponding measurements in a separate table.
Best Practices
Vary Line Weights: I learned at university to use different line weights to add depth and clarity to your schematics. For example, thicker lines for outlines, medium lines for style lines, and thin lines for finer details.
Clarity: Ensure schematics are clear and easy to understand. Their purpose is to help the knitter decide what size to knit and know whether they need to make any adjustments to the pattern as written.
For a more thorough review of Inkscape, I have shared a review of my experience using Inkscape as a knitting pattern designer.
Lo-Fi vs. Hi-Tech
Whilst you can still get great results if you go down the more lo-fi route of knitting pattern design, I find that these free tools make the knitting pattern design process much more efficient and accurate!
While you can still achieve great results using the more lo-fi approach, using pen, paper, and a calculator, I find these free tools make the knitting pattern design process much more efficient and accurate, especially for those looking to design their first knit pattern.
Do you use any free tools that simplify the knitting pattern design process? Share them in the comments section with your fellow designers! I would love to learn more about them.
About Clare
Clare started designing knitting patterns back in 2016. Now, she helps others design their own patterns through her blog and online courses. She loves watching her students' confidence grow! Known for simple designs with clever details, Clare is currently enjoying a playful phase with colour. Once a monogamous knitter, she now uses a wheel spinner to choose which of her projects to tackle each evening – because why not add a bit of unpredictability to the mix?
FREE, ON-DEMAND VIDEO WORKSHOP
How to Confidently Design Multi-Size Sweater Patterns
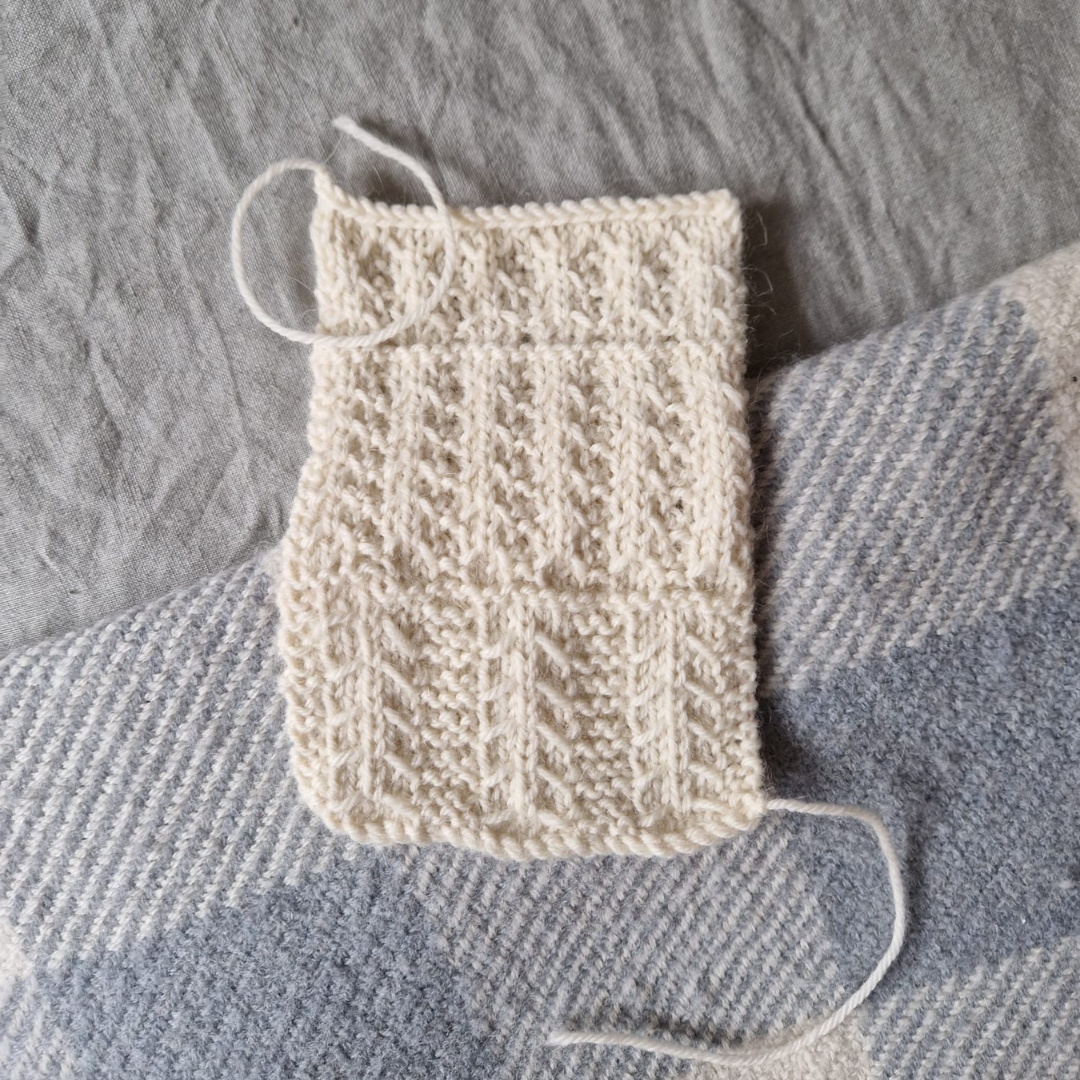
Image Description: White chunky swatch with garter basket weave stitch and two types of ribbing, on a grey woollen background.
